Cleaning up the lab - Subnet mask fun, self-hosted DNS and DHCP.

My "home lab" is really just my apartment's network, running in a single VLAN. I've considered splitting into multiple VLANs before, but haven't found a proper reason to do so just yet.
Today I made a few major changes to my home network. Doing so right before a Friday seems unwise, but as I'm already having to face the disruption of changing passwords including to the WiFi, I thought I'd take the opportunity to clean a few things up.
The big one is I've moved homeprod from 10.1.1.0/8 (or more accurately, 10.0.0.0/8) to 10.1.0.0/16, drastically cutting the number of addresses in my main subnet.
Less drastically, I'm moving all statically assigned machines to 10.1.2.0 - 10.1.2.254, including the Proxmox lab, which will be renumbered from 10.1.1.151 - 10.1.1.154 -> 10.1.2.101 -> 10.1.2.104.
Back to drastic - I'll be self-hosting DNS and DHCP from now on, using Technitium DNS Server, both to try it out and to work around the now broken DHCP static lease functionality on my home router. Unfortunately upgrading the firmware on the router was enough to break DHCP static leases, and I was left with 4 main choices:
1. Wait for homeprod to fall into disrepair. Not really an option.
2. Buy a new router.
3. Fix it somehow.
4. Run my own DHCP/DNS.
I've been avoiding running DHCP/DNS myself for years, throwing it in the "too much work for homeprod" basket, despite the significantly harder projects I've played with at home (hello, Kubernetes!). However, I love the idea of blocking ads and having a bit more control over homeprod's DNS, and the router issue was enough to make it worth it for me.
I had to address a few things before I could consider running my own DNS/DHCP stack... most importantly and critically - I needed a "highly available" setup - one where I could lose a Proxmox node or two and still have DNS/DHCP functionality. Unfortunately, Technitium doesn't seem to be multi-node just yet. This ruled out my entire old Proxmox setup, as all storage was local and a single VM would be unsuitable as a failure of its host would take out network services for the apartment. Well, for the humans, anyways.
In theory, if I had shared storage on Proxmox, I could have a "highly available" (kind of) single VM, where if a node dies, is powered off, or otherwise has issues, the dns01 VM would migrate to the remaining nodes. This would be ideal, and would also mean that in the event of powering off the entire lab for maintenance (or powering up after a power outage), chances were fairly high that it would simply start on its own even if one of the Proxmox hosts didn't come back to life during said event.
Enter Ceph. It provides a fairly straightforward way of creating clustered/shared storage and integrates very nicely with Proxmox. Installation was extremely straightforward - essentially, follow the prompts and install Ceph on each machine, then create monitors and managers as appropriate. I created 4 monitors and 3 managers, leaving Claudio without the manager role to keep an odd number of managers.
Now, all I needed to do was create OSDs. Herein lay two problems - one, most of my disks were carved up for Chia plotting, and two, those disks wouldn't show up in Proxmox as eligible for putting OSDs on. Problem 1 was easy to solve - lvremove /dev/pve/chiaplot - as I'm done with plotting Chia for now anyways (and have significantly better plotting hardware coming online anyways - future blog post!). Problem 2 was a little trickier, but a bit of poking around eventually led to creating logical volumes and turning them into Ceph OSDs by hand:
root@coheed:~# ceph auth get client.bootstrap-osd > /var/lib/ceph/bootstrap-osd/ceph.keyring
root@cambria:~# ceph auth get client.bootstrap-osd > /var/lib/ceph/bootstrap-osd/ceph.keyring
root@jesse:~# ceph auth get client.bootstrap-osd > /var/lib/ceph/bootstrap-osd/ceph.keyring
root@claudio:~# ceph auth get client.bootstrap-osd > /var/lib/ceph/bootstrap-osd/ceph.keyring

root@coheed:~# lvcreate -V 420G --name ceph-1 --thinpool pve/data && ceph-volume lvm create --bluestore --data pve/ceph-1
root@cambria:~# lvcreate -V 420G --name ceph-1 --thinpool pve/data && ceph-volume lvm create --bluestore --data pve/ceph-1
root@jesse:~# lvcreate -V 234G --name ceph-1 --thinpool pve/data && ceph-volume lvm create --bluestore --data pve/ceph-1
root@claudio:~# lvcreate -V 234G --name ceph-1 --thinpool pve/data && ceph-volume lvm create --bluestore --data pve/ceph-1
Bam, 4 fresh OSDs and working Ceph storage, ready for a pool. I created one with size=4,min=2 and all default settings, and created my first Ceph-hosted VM - dns01 - with a fresh install of Debian 11. After installation, I changed its IP to a statically assigned 10.1.2.1, providing a nice memorable IP for ease of configuration later. I'm reserving 10.1.2.2 - 10.1.2.9 for future DHCP/DNS servers, hopefully one day I'll get to use them.
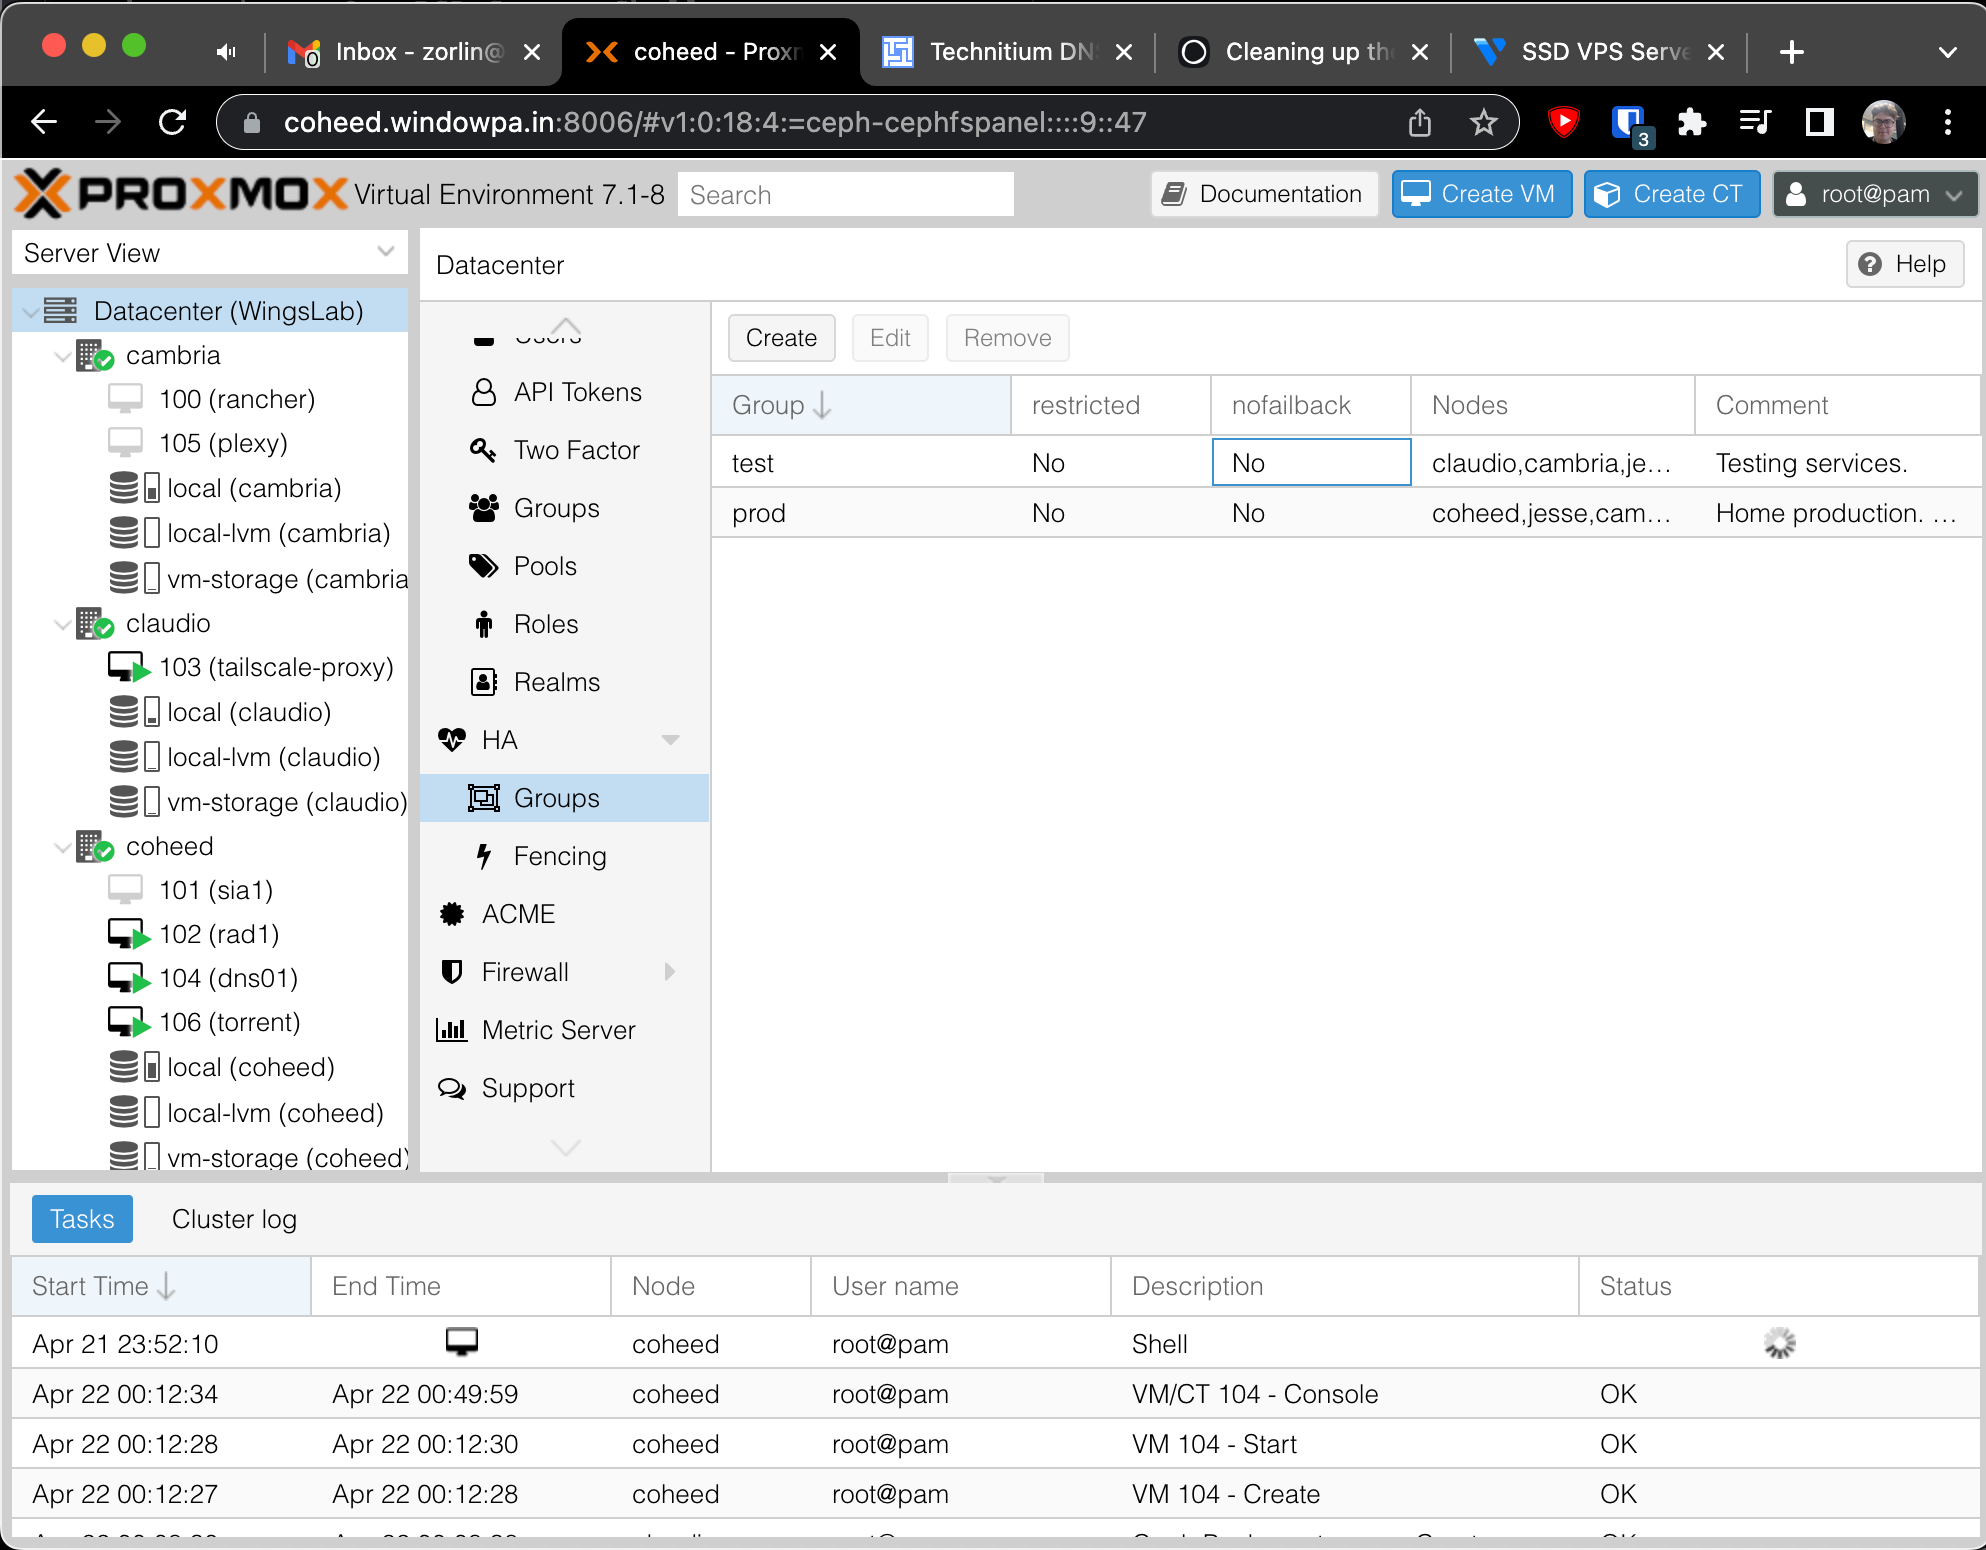
I created HA groups for "test" and "prod" in Proxmox, including all 4 nodes in them...
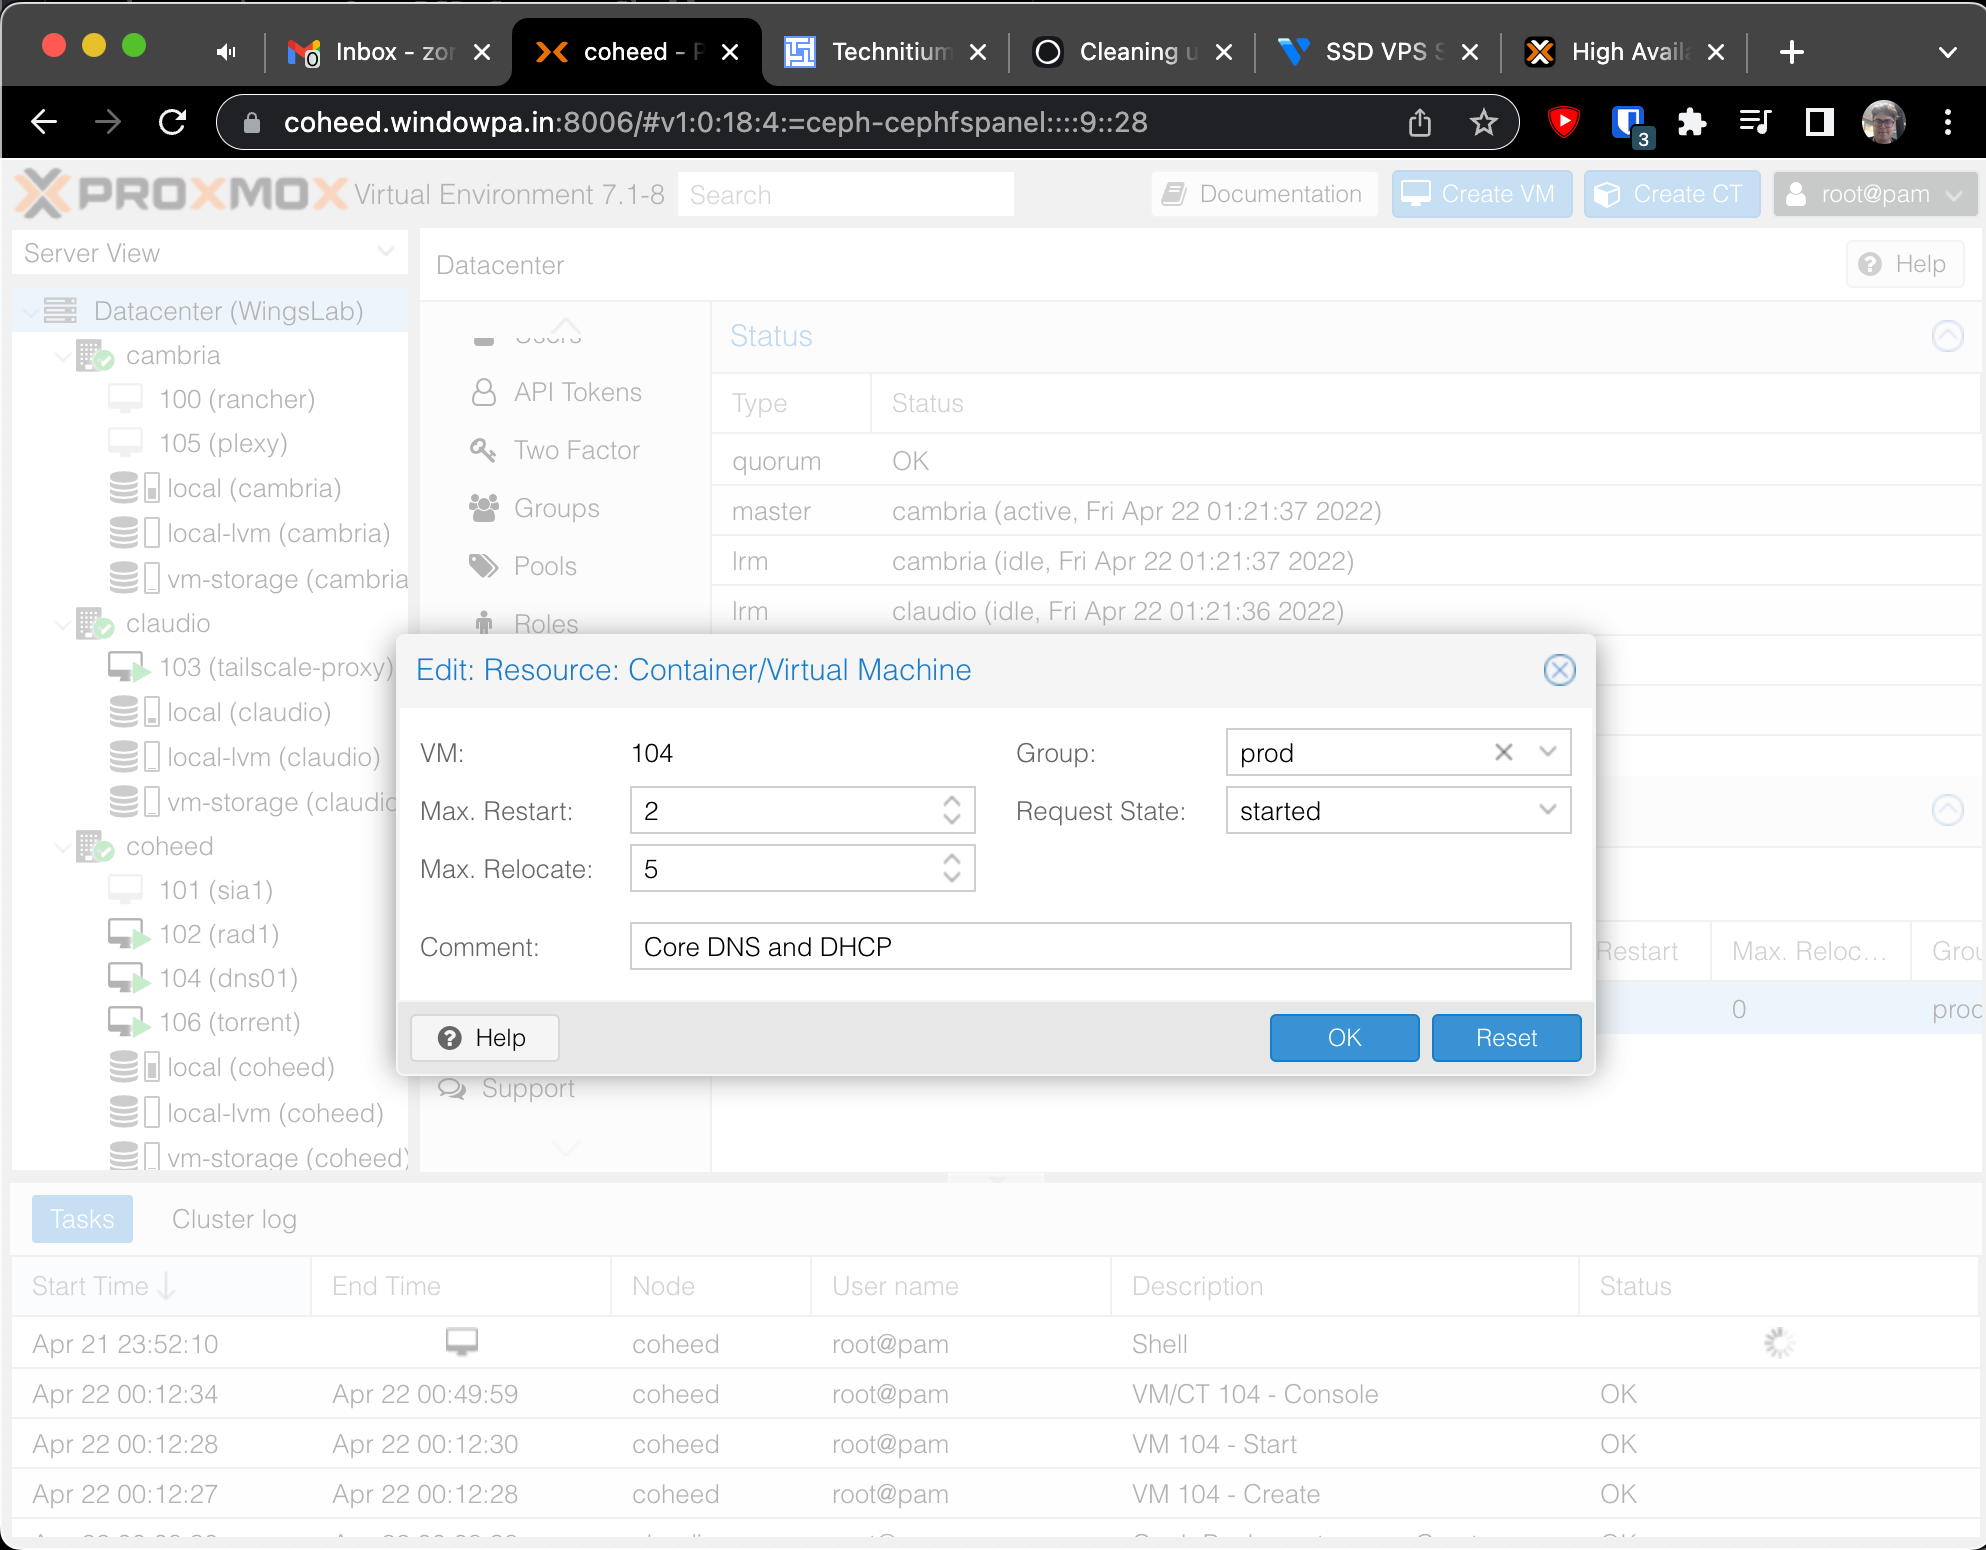
Then created a HA policy for dns01, ensuring it would migrate to the remaining Proxmox hosts if when one fails.
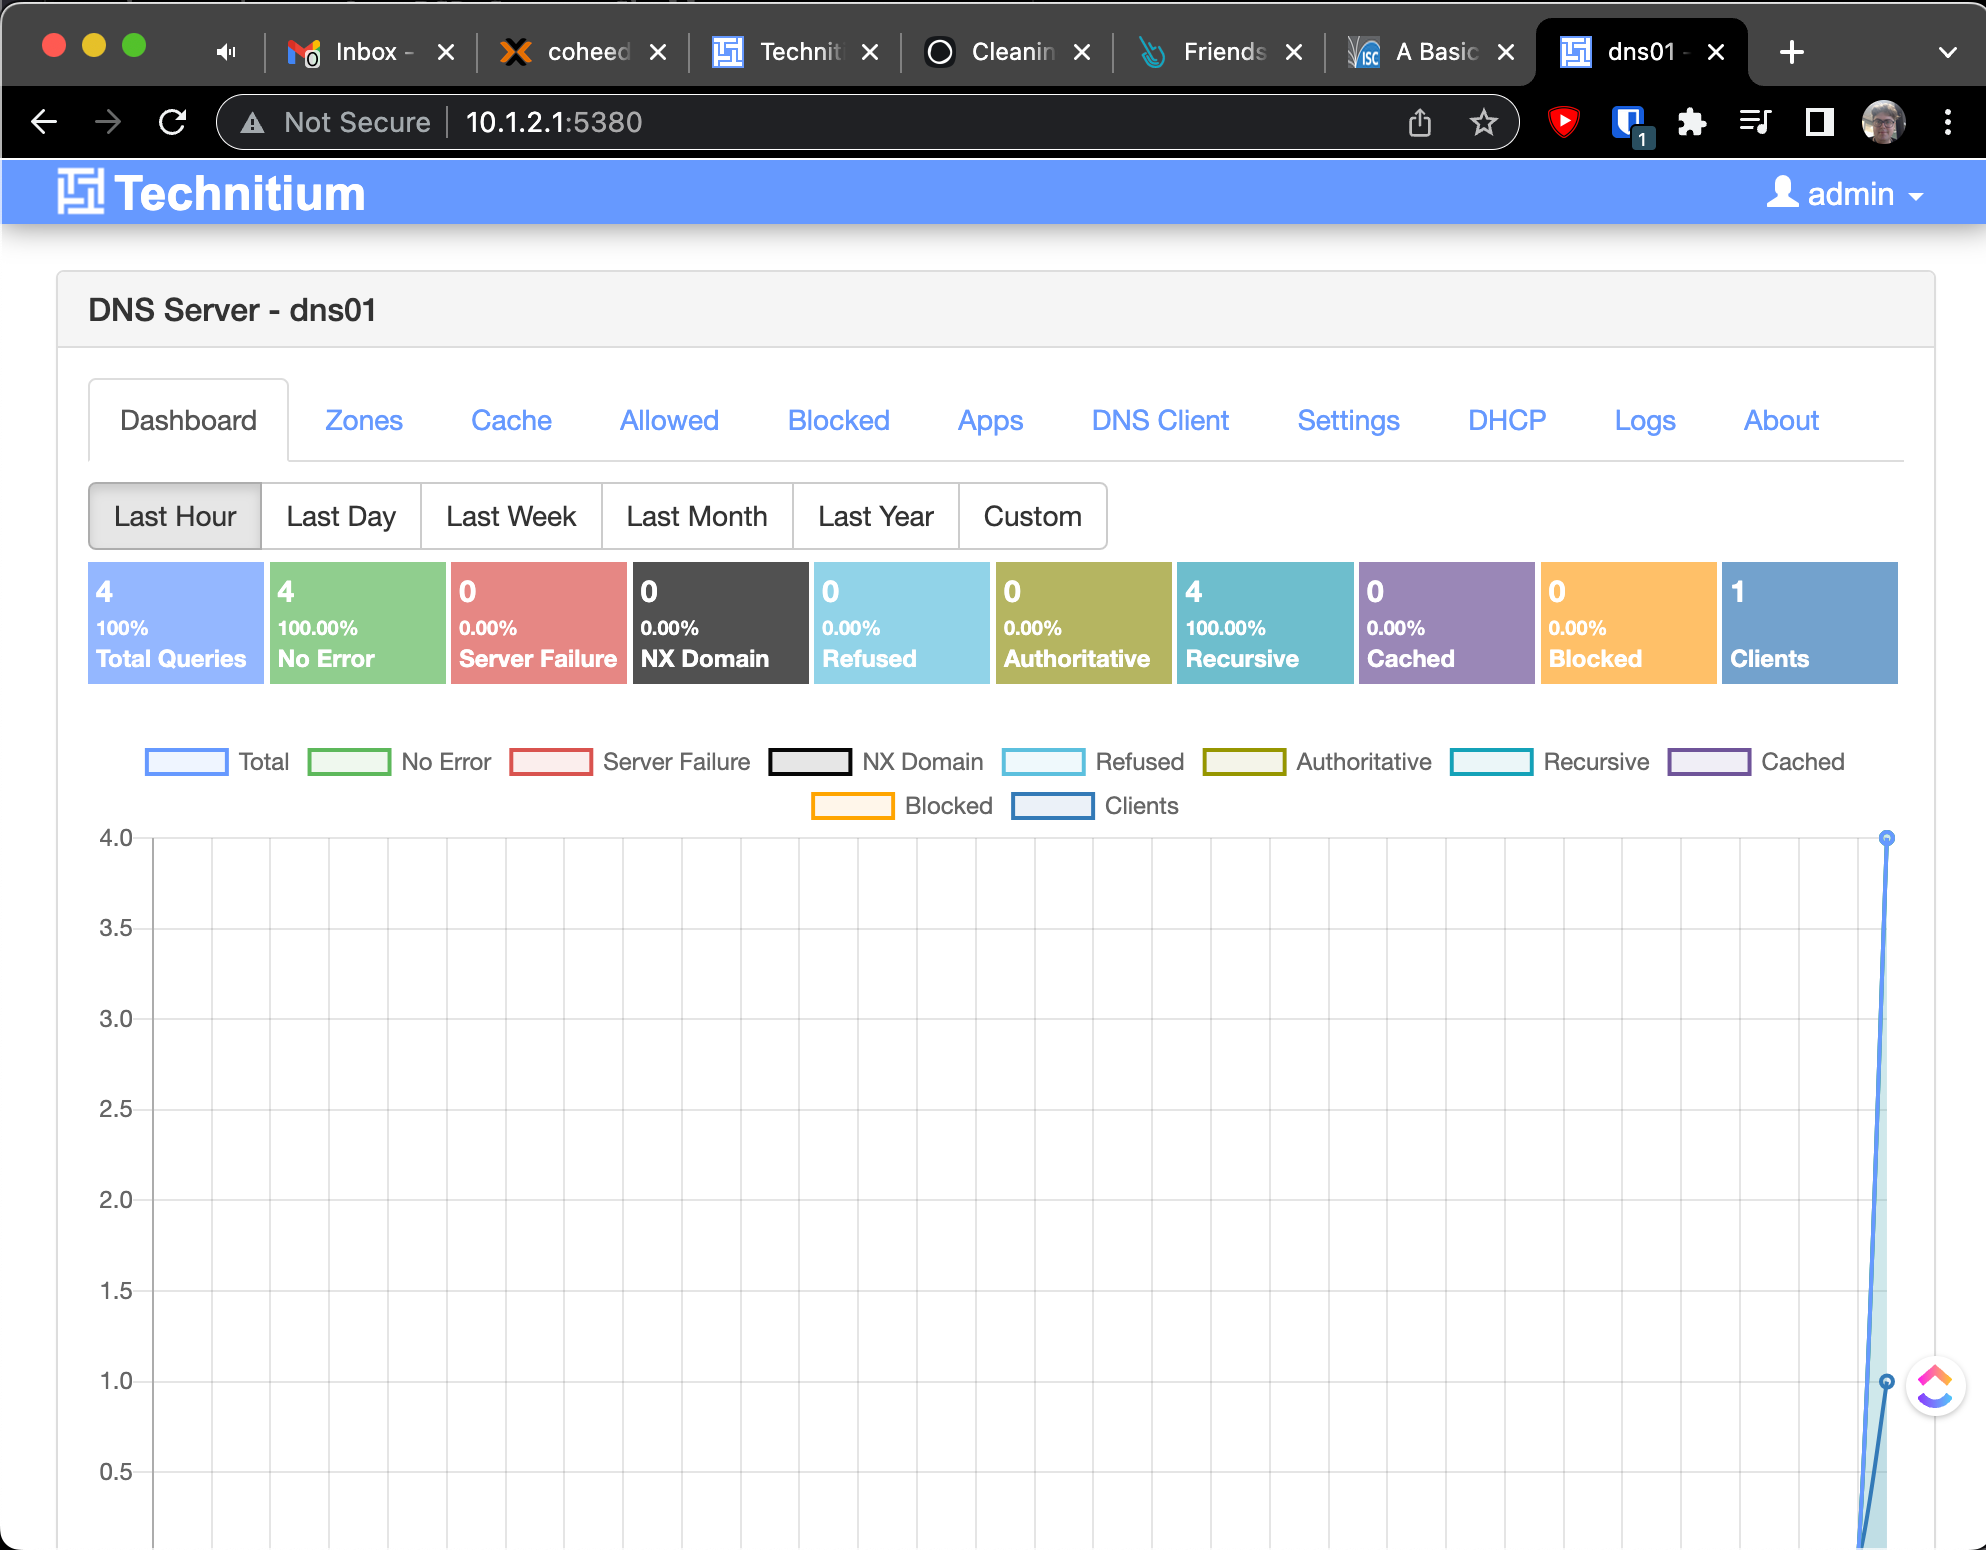
With Debian installed, it's finally time to try Technitium.
One ill-advised curl-to-bash later:
curl -sSL https://download.technitium.com/dns/install.sh | sudo bash
===============================
Technitium DNS Server Installer
===============================

Installing .NET 6 Runtime...
.NET 6 Runtime was installed successfully!

Downloading Technitium DNS Server...
Updating Technitium DNS Server...
Configuring systemd service...

Technitium DNS Server was installed successfully!
Open http://dns01:5380/ to access the web console.

Donate! Make a contribution by becoming a Patron: https://www.patreon.com/technitium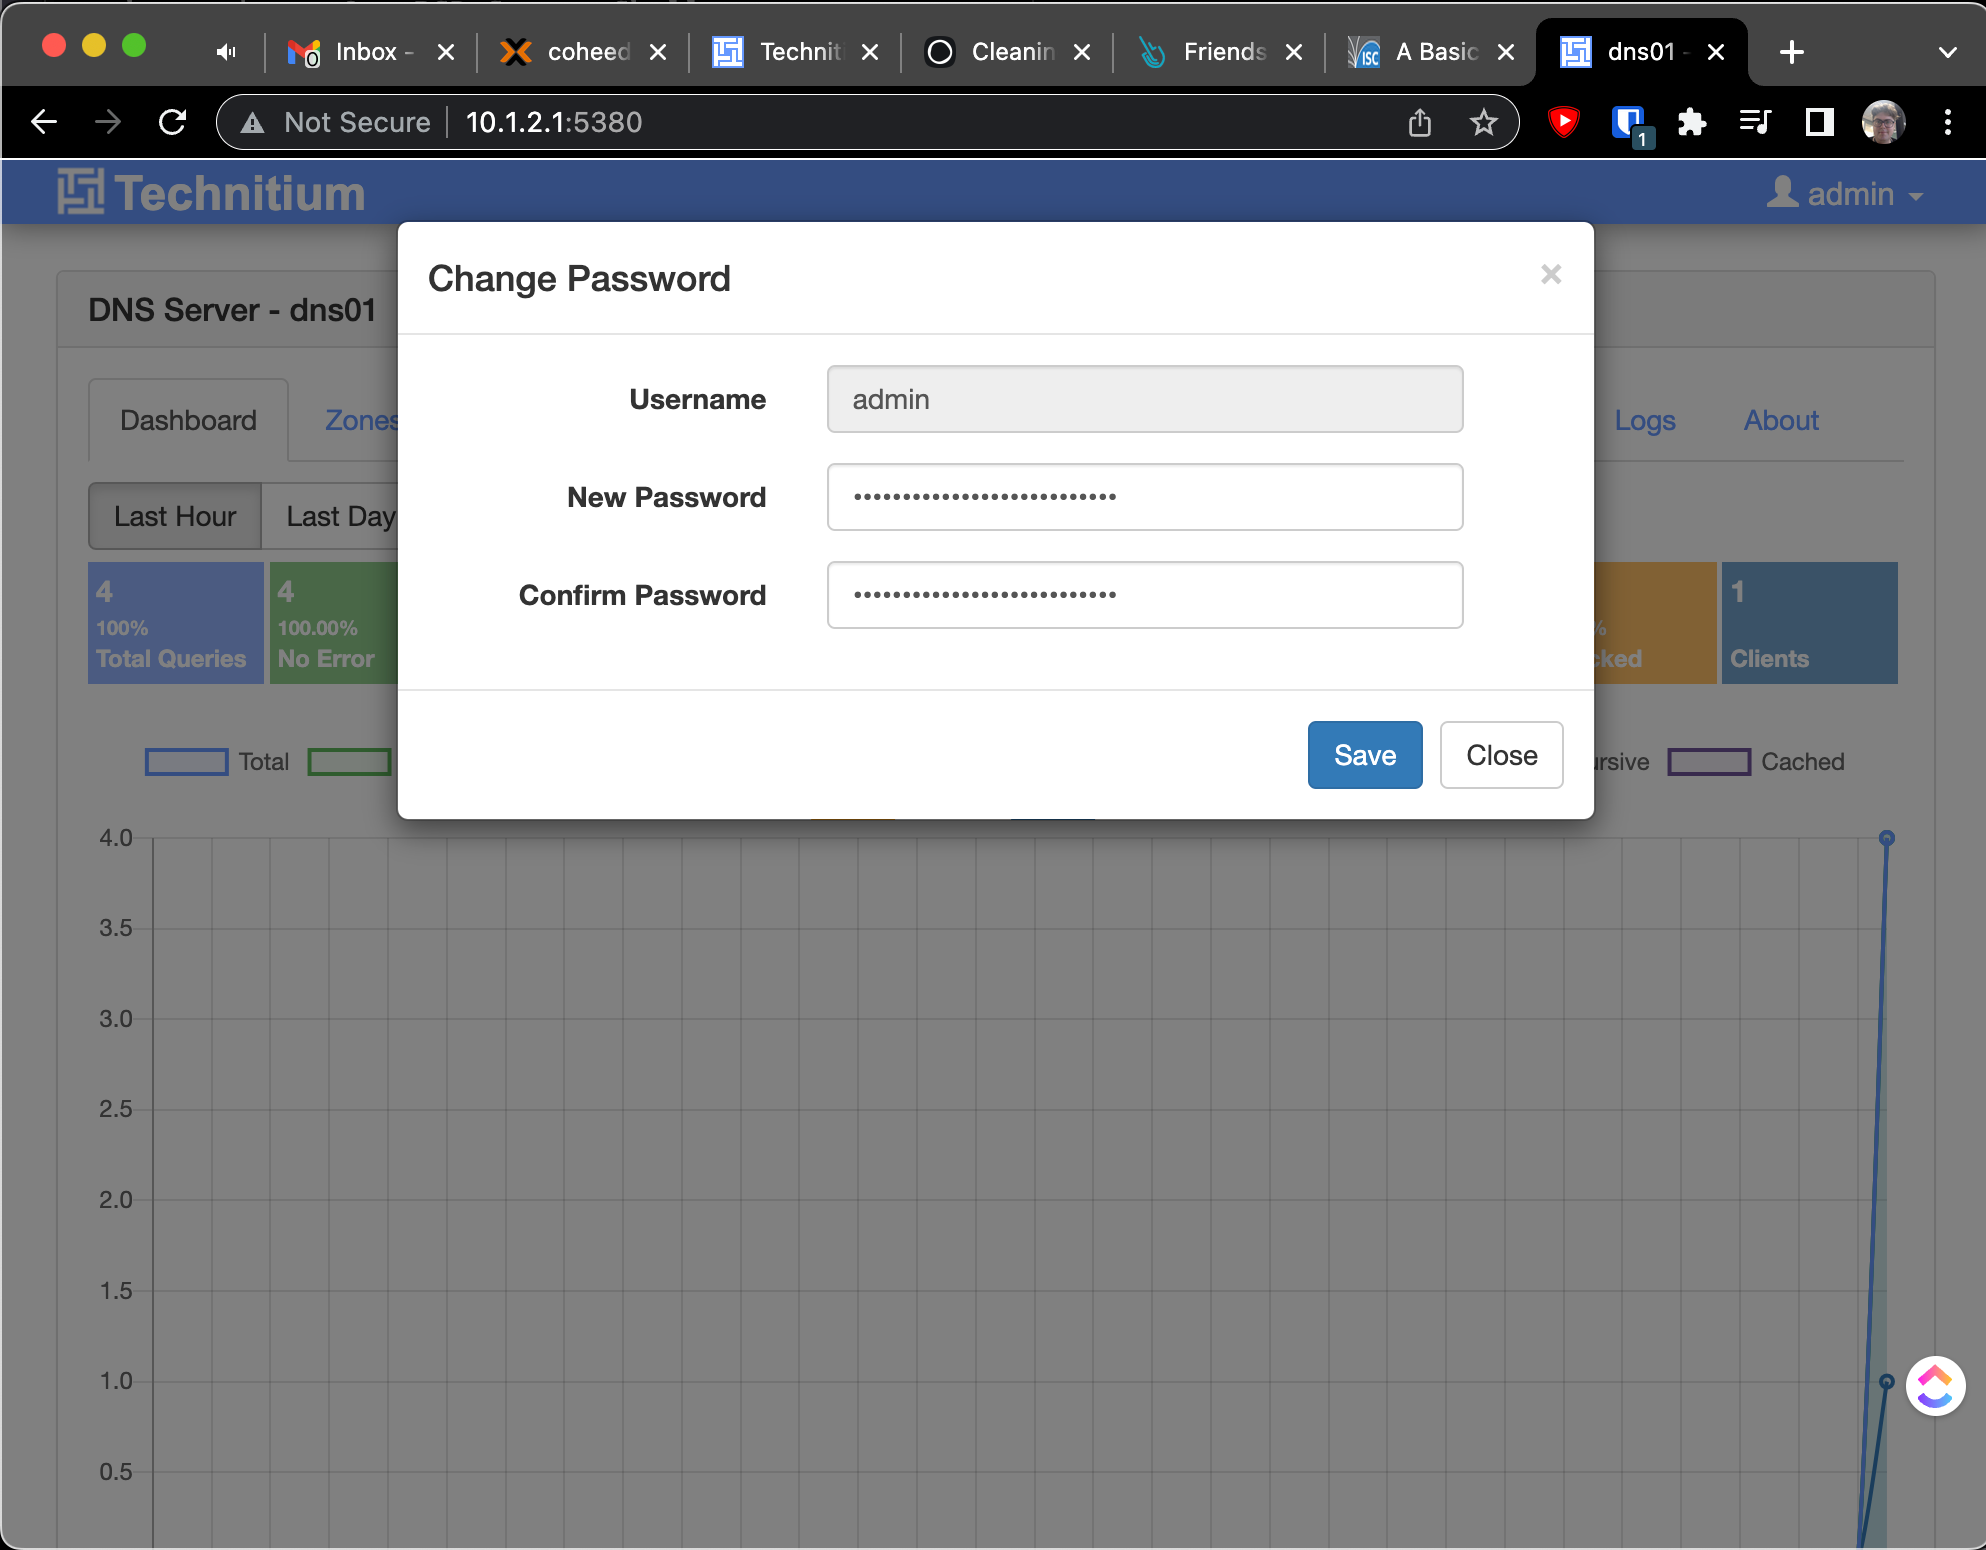
We have liftoff! Easy installation, points for that.
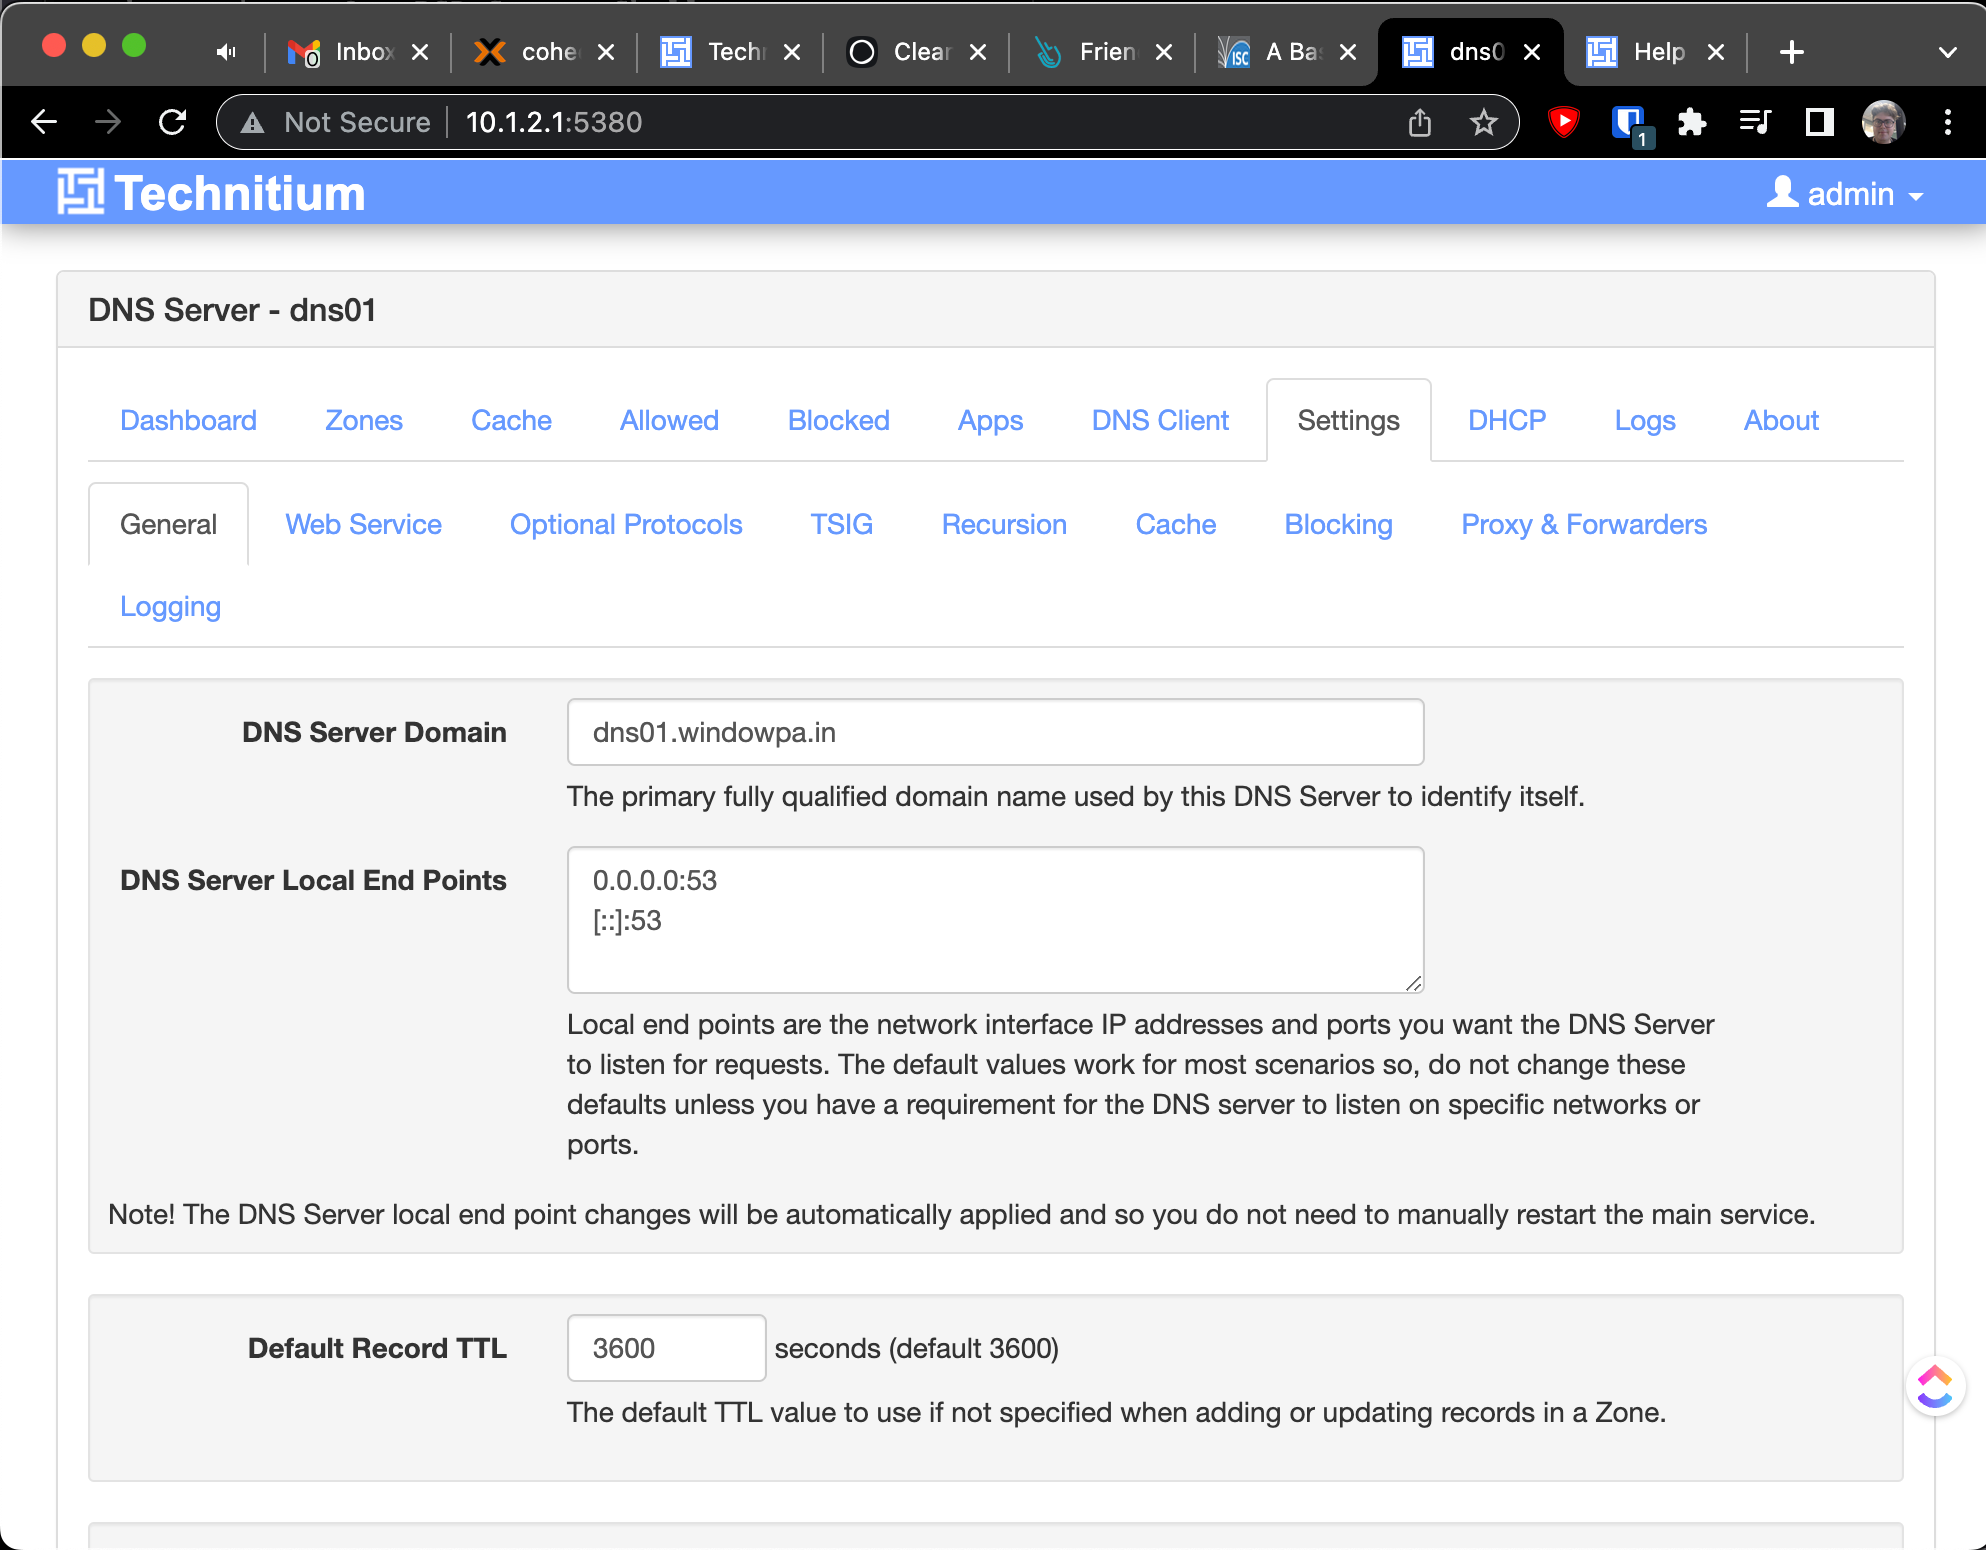
Heading over to Settings, we can make our first change:
Time to get DHCP going -
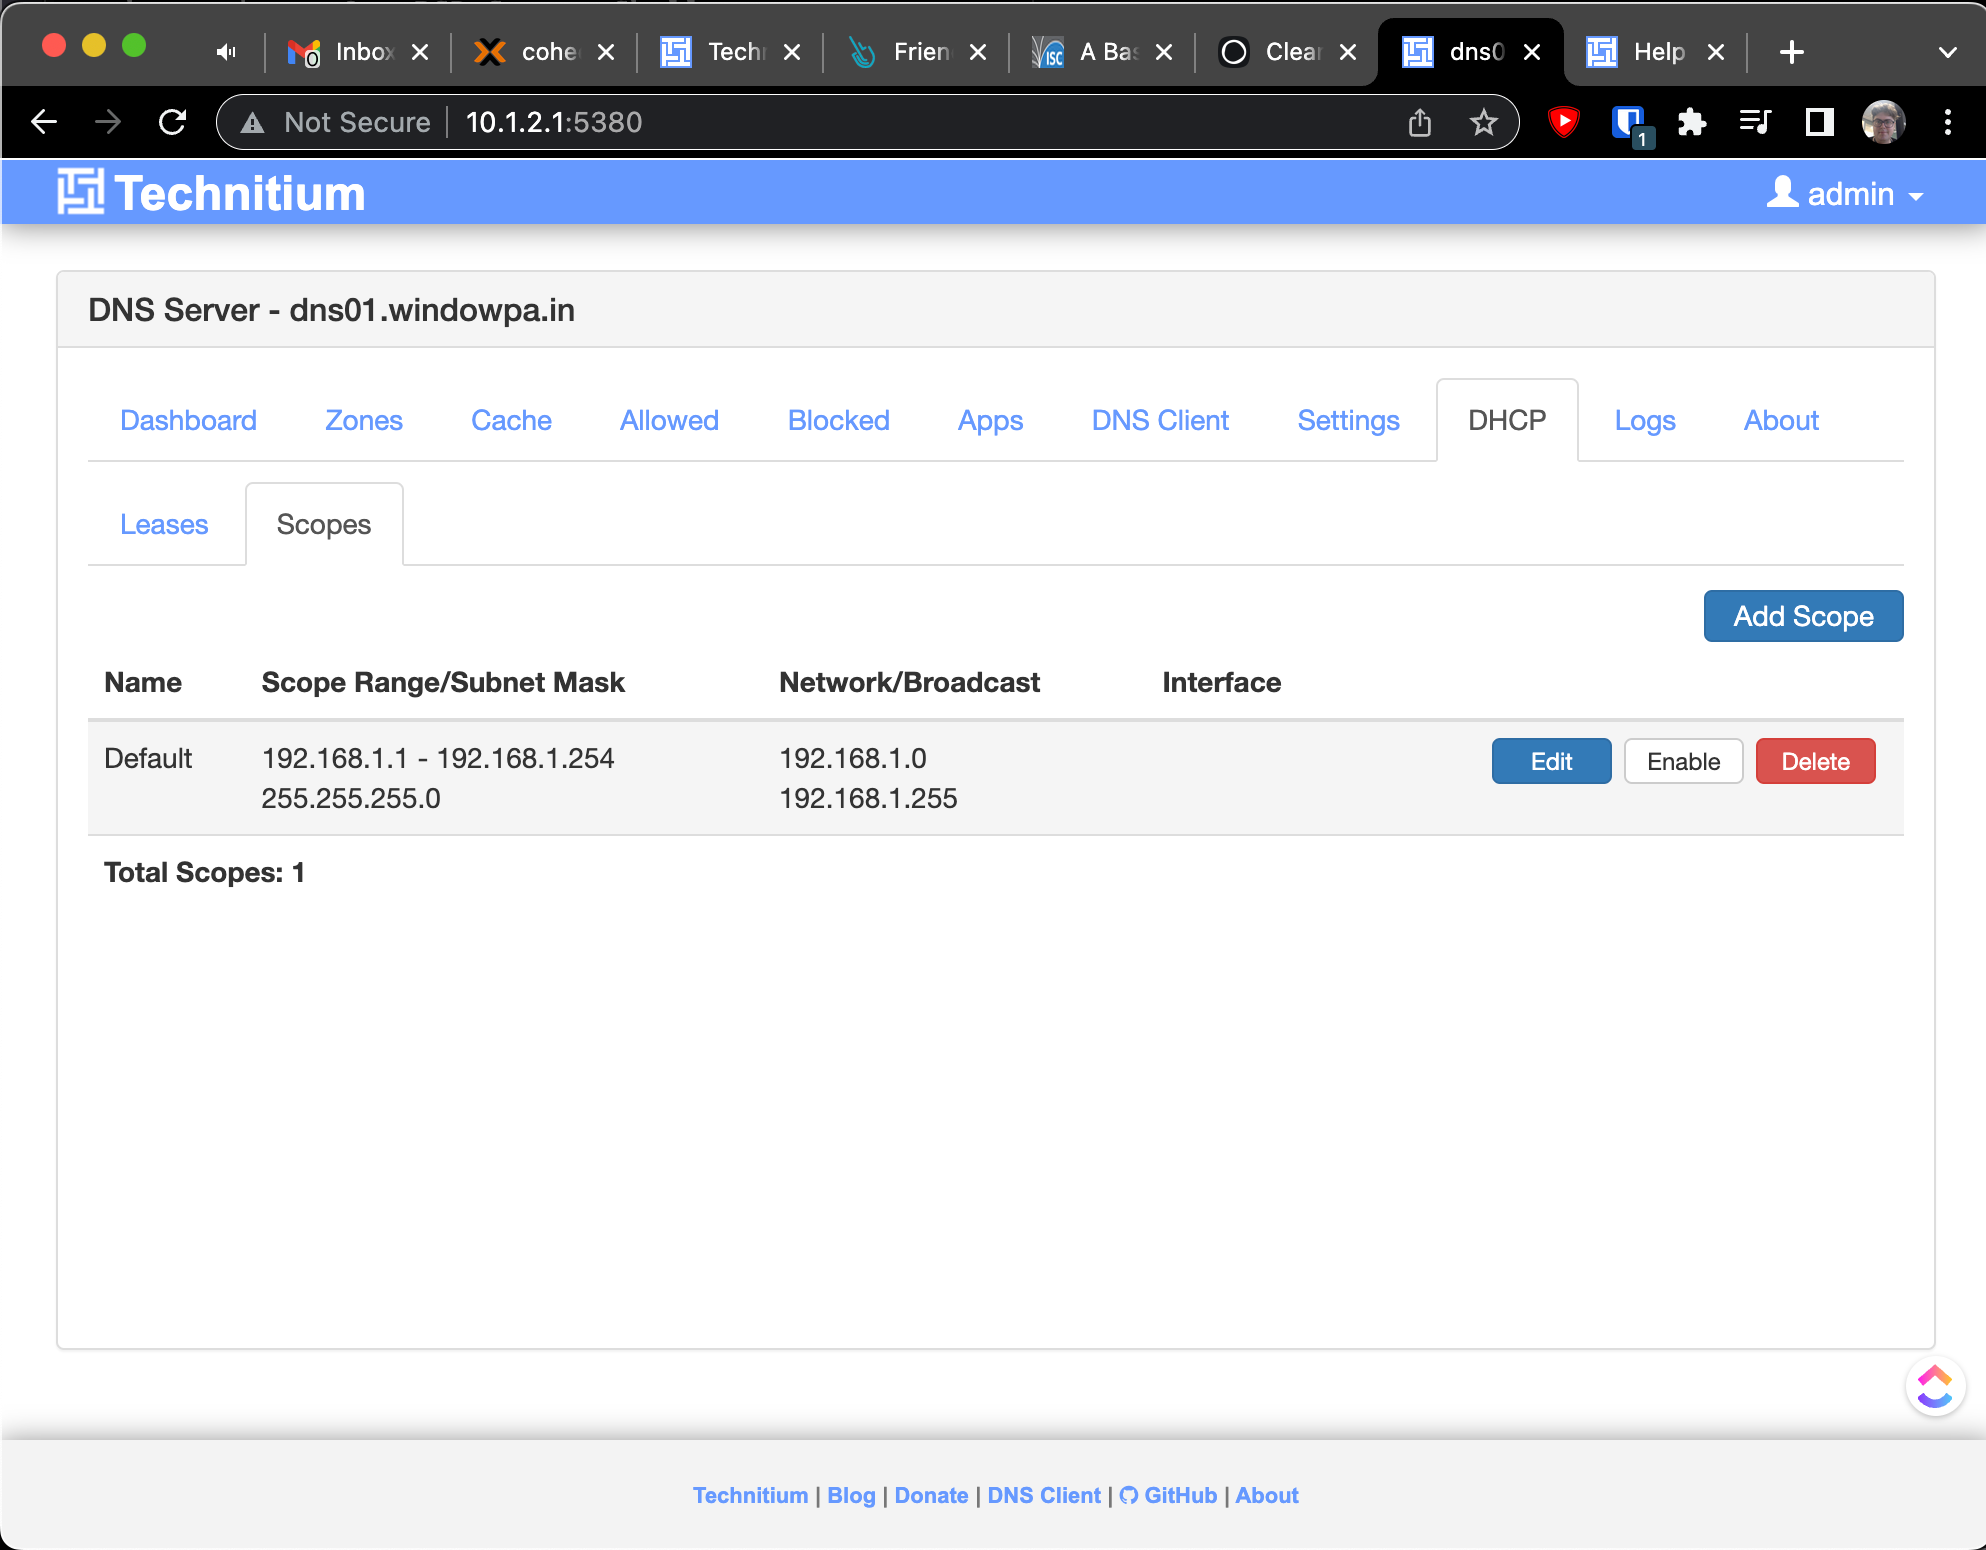
Clicked on Add Scope, then filled out the long form...

Having created a new network, I deleted the old one:
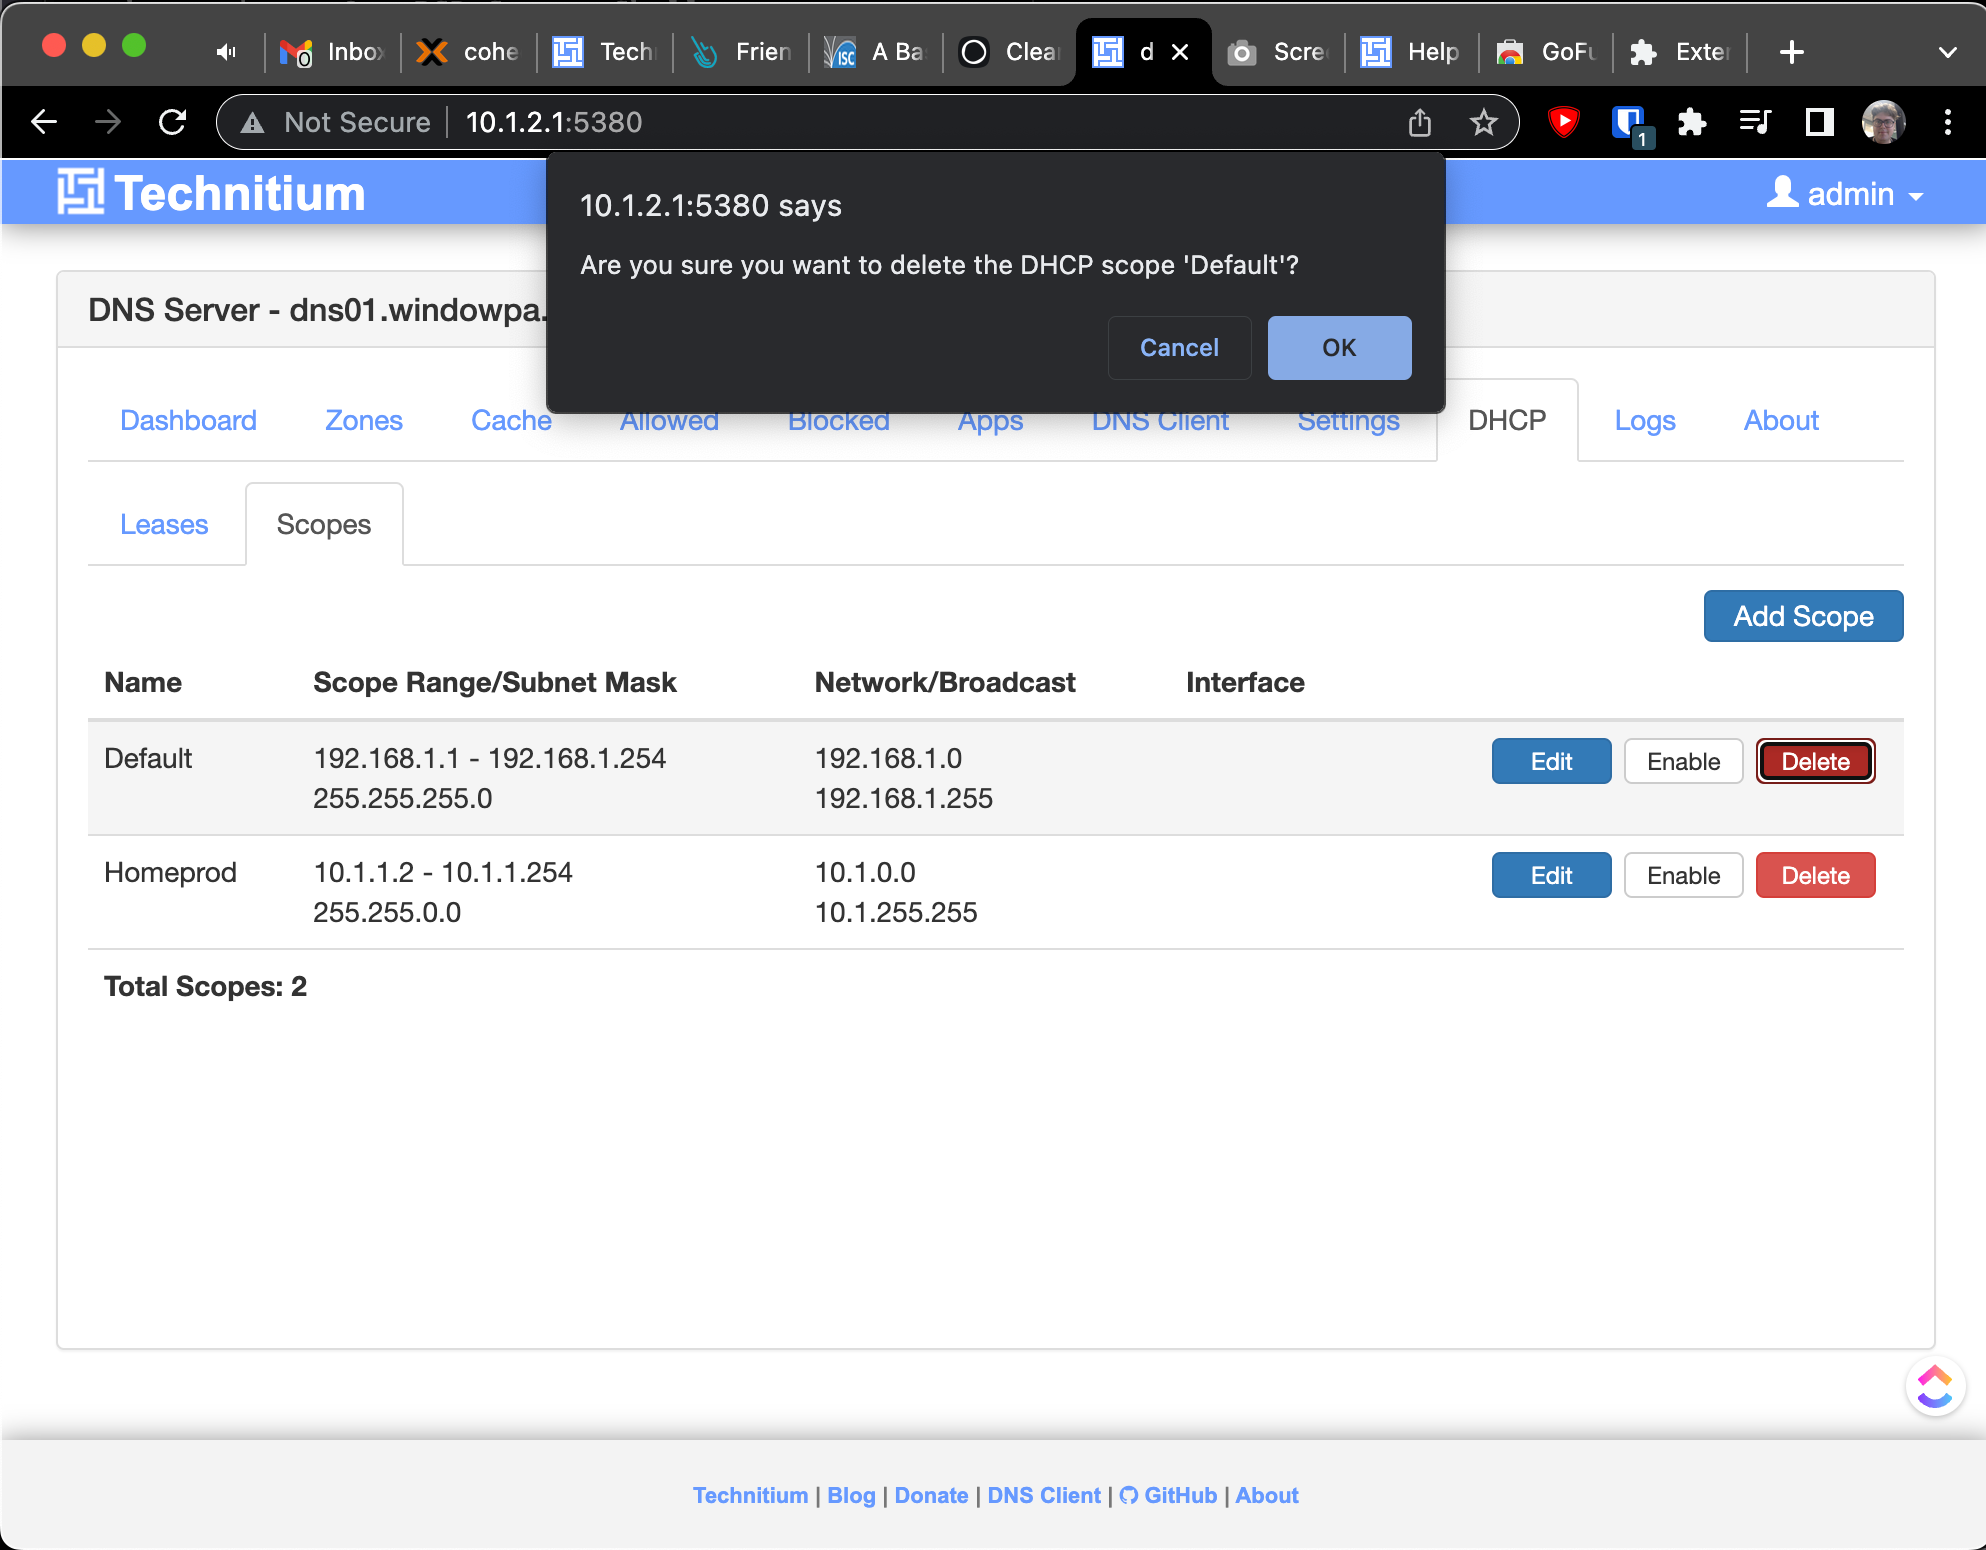
Then crossed my fingers, clicked "Enable", and... immediately hit an error. Drat.
[2022-04-21 17:38:30 UTC] DHCP Server failed to activate scope: Homeprod
DnsServerCore.Dhcp.DhcpServerException: DHCP Server requires static IP address to work correctly but the network interface was found to have a dynamic IP address [10.1.2.1] assigned by another DHCP server: 10.1.1.1
   at DnsServerCore.Dhcp.Scope.FindInterface() in Z:\Technitium\Projects\DnsServer\DnsServerCore\Dhcp\Scope.cs:line 513
   at DnsServerCore.Dhcp.DhcpServer.ActivateScopeAsync(Scope scope, Boolean waitForInterface) in Z:\Technitium\Projects\DnsServer\DnsServerCore\Dhcp\DhcpServer.cs:line 991
[2022-04-21 17:38:30 UTC] [10.1.1.11:54061] DnsServerCore.DnsWebServiceException: Failed to enable DHCP scope, please check logs for details: Homeprod
   at DnsServerCore.WebServiceDhcpApi.EnableDhcpScopeAsync(HttpListenerRequest request) in Z:\Technitium\Projects\DnsServer\DnsServerCore\WebServiceDhcpApi.cs:line 663
at DnsServerCore.DnsWebService.ProcessRequestAsync(HttpListenerRequest request, HttpListenerResponse response) in Z:\Technitium\Projects\DnsServer\DnsServerCore\DnsWebService.cs:line 827 TechnitiumSoftware
Maybe something like the above is biting me. In any case, it's time for bed.